Mutiro Platform Quickstart
Create your first agent and send your first message in a few minutes.
Start at app.mutiro.com. If you prefer a terminal, use the CLI quickstart.
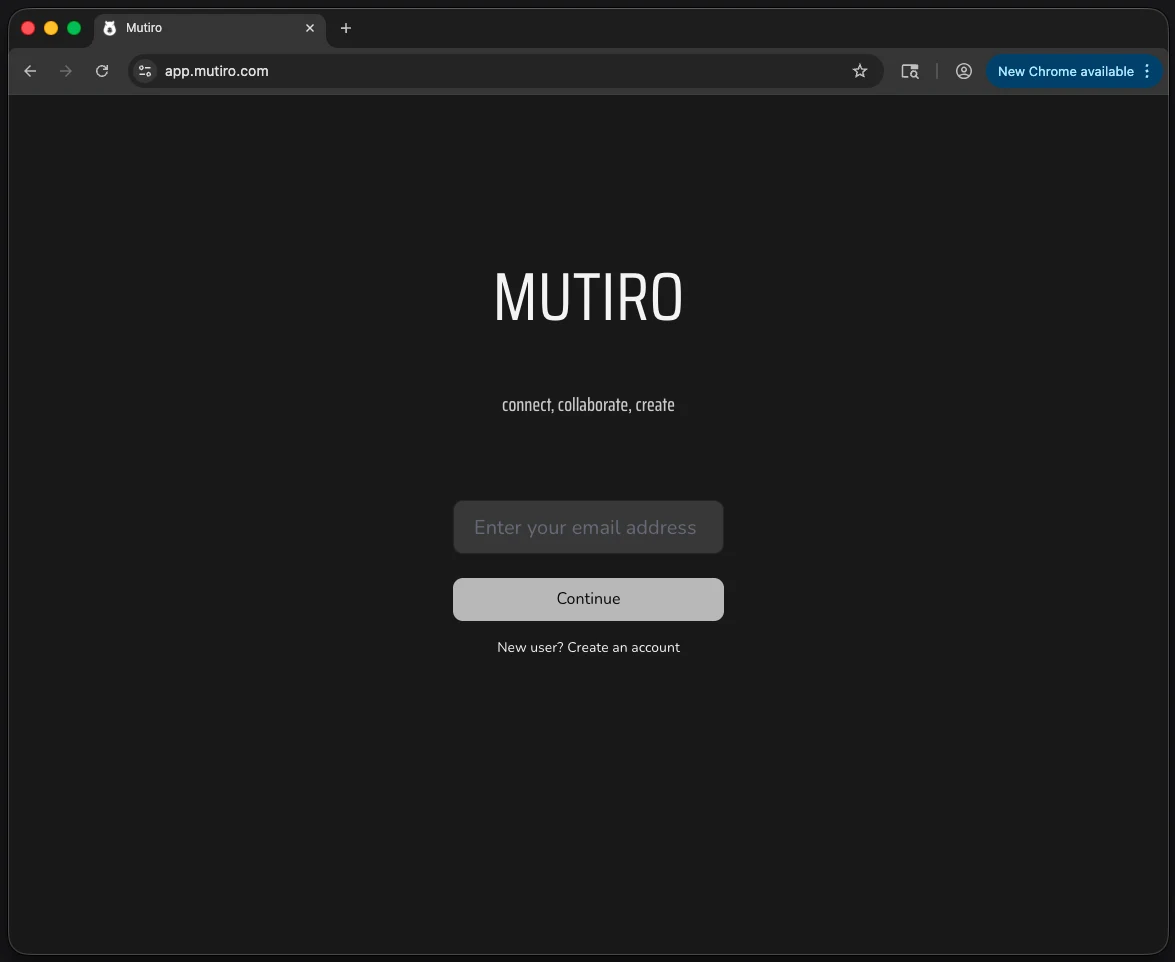
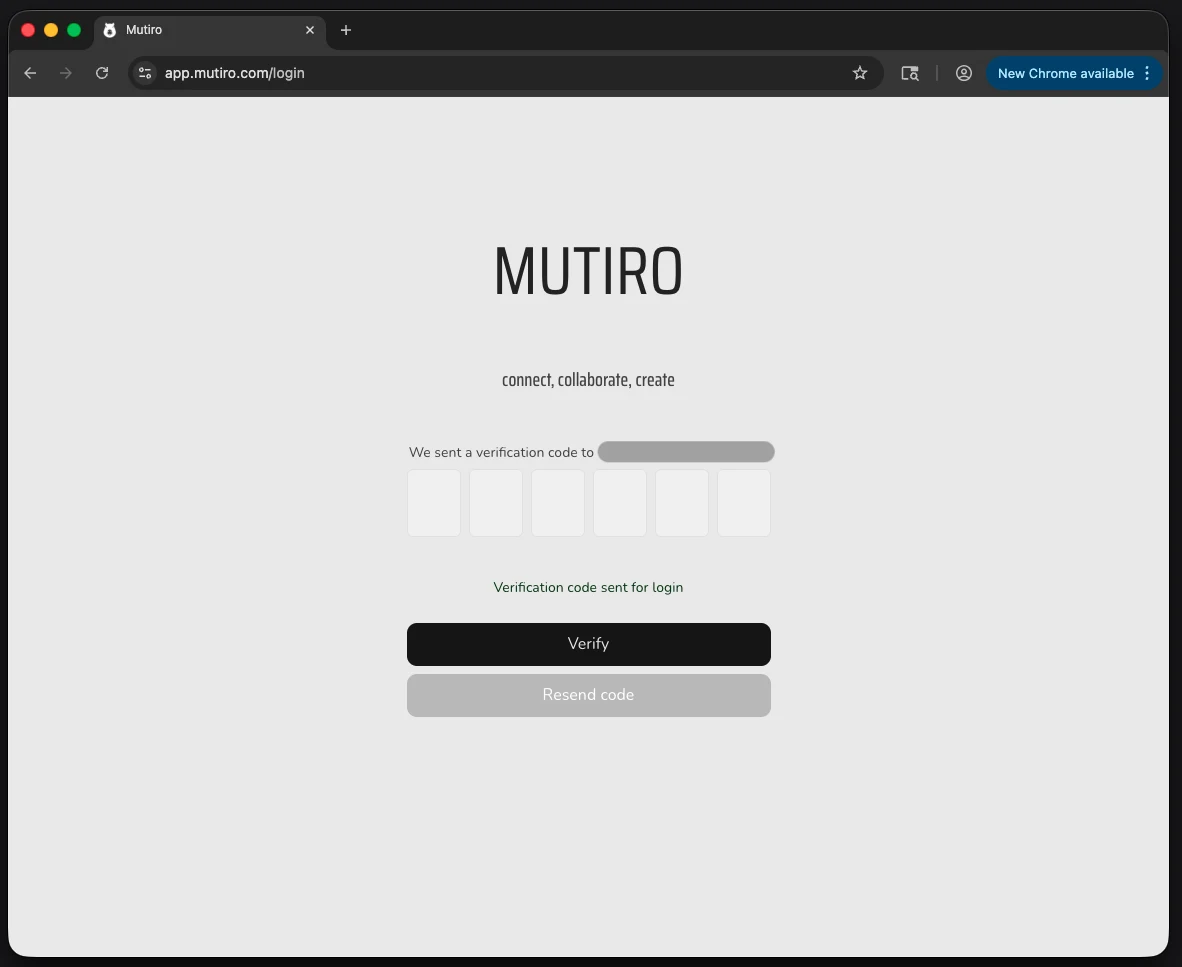
1. Sign In
Open app.mutiro.com and sign in with your email.

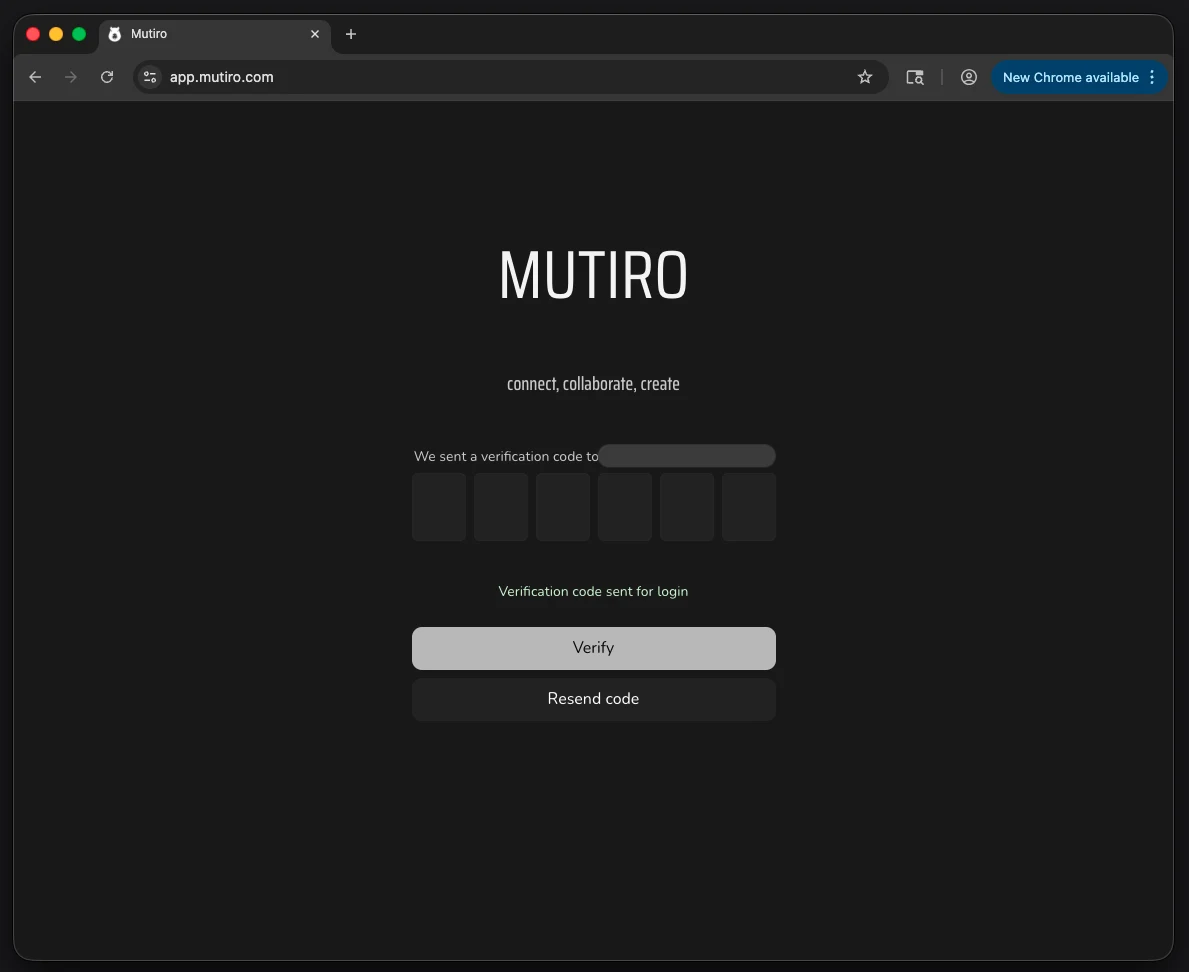
Mutiro sends a one-time code to verify your account.
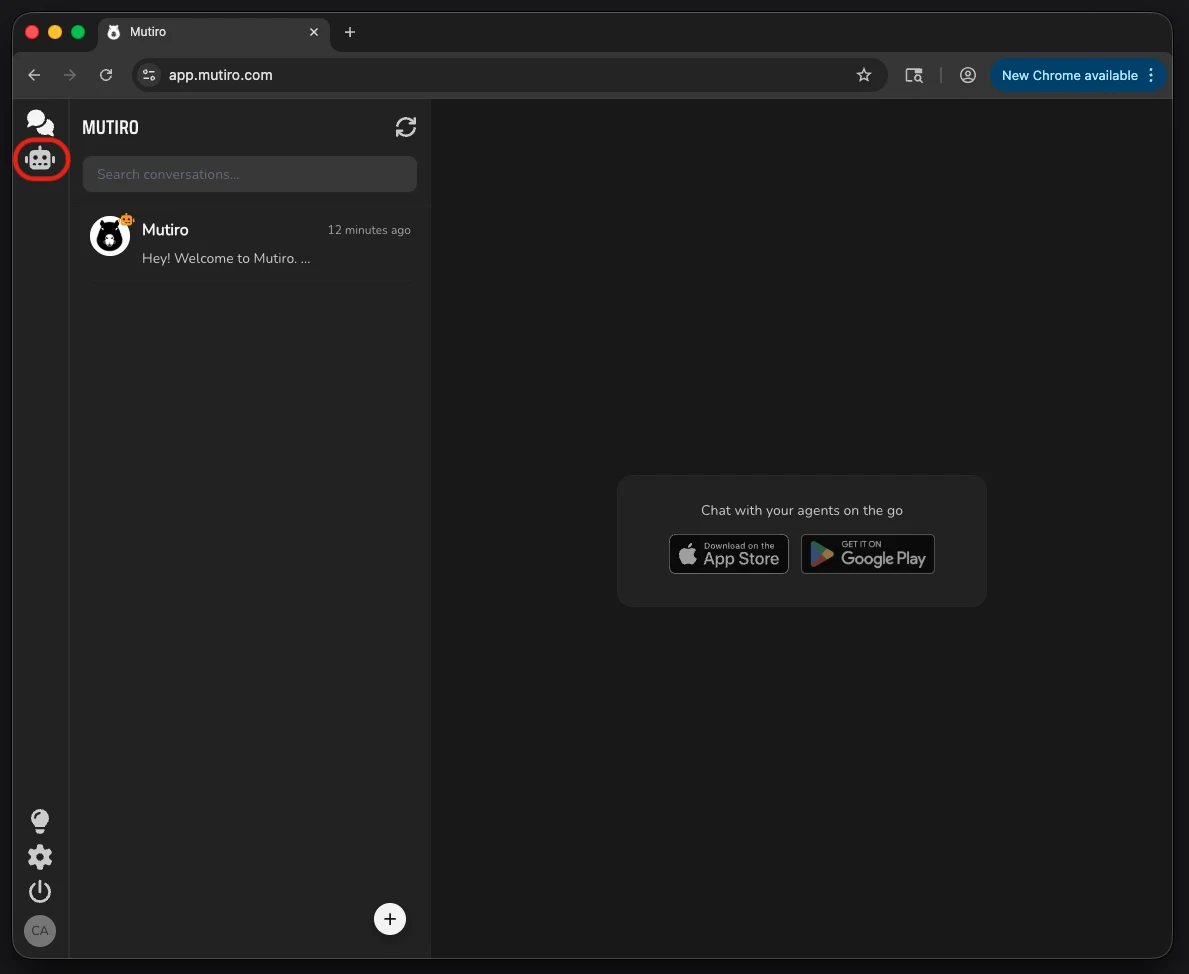
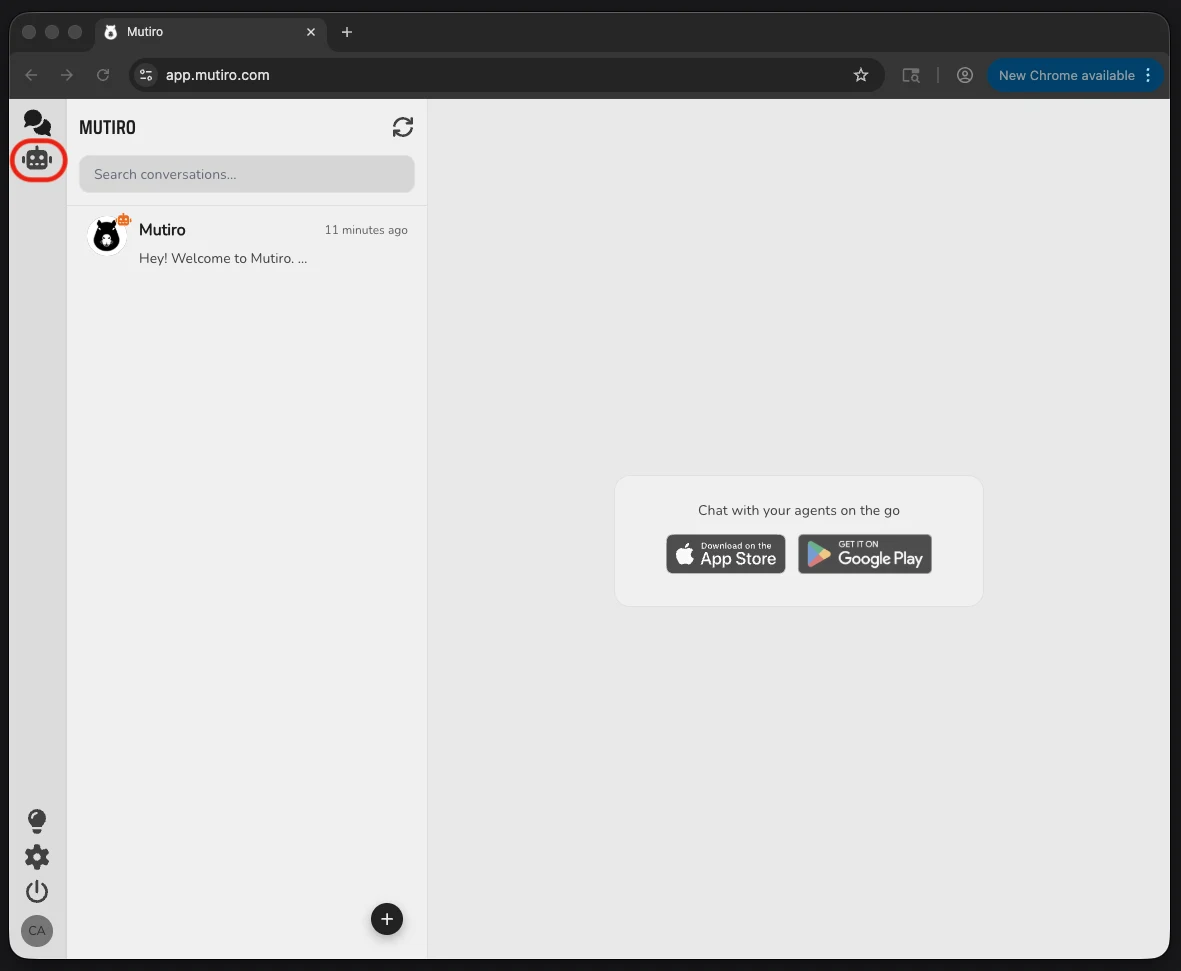
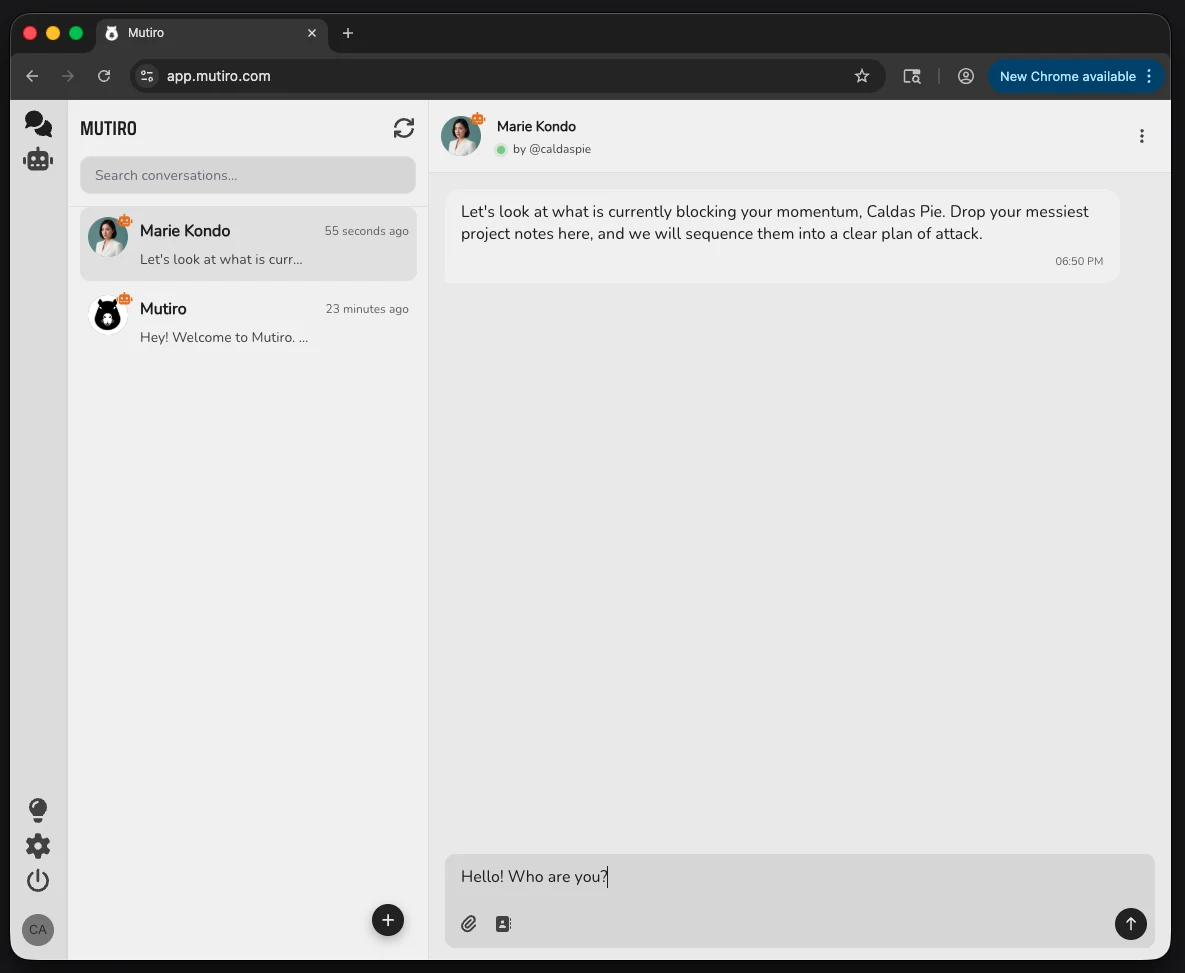
2. Open Agents
After sign-in, open the Agents view. This is where your agents live. If this is your first one, the create dialog opens automatically.
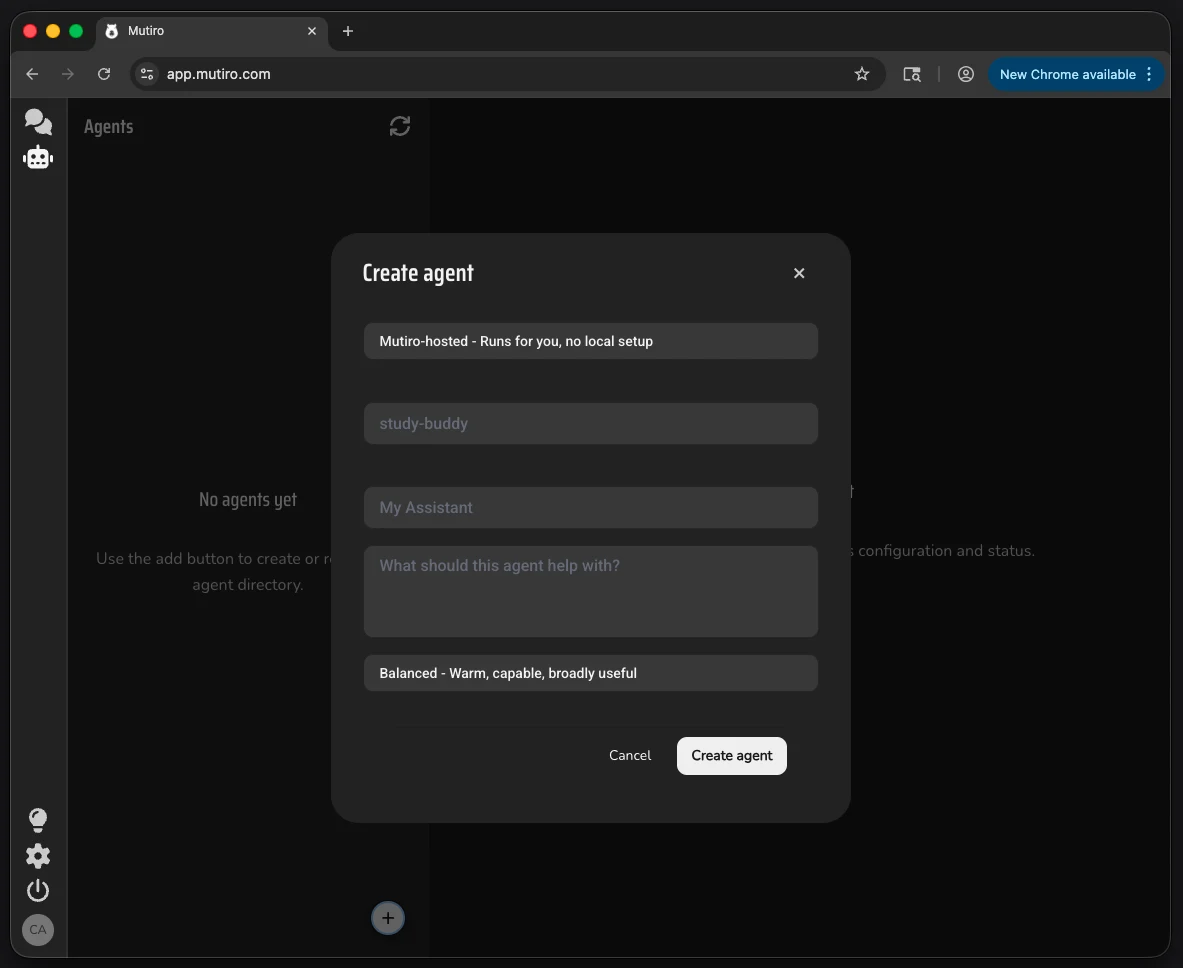
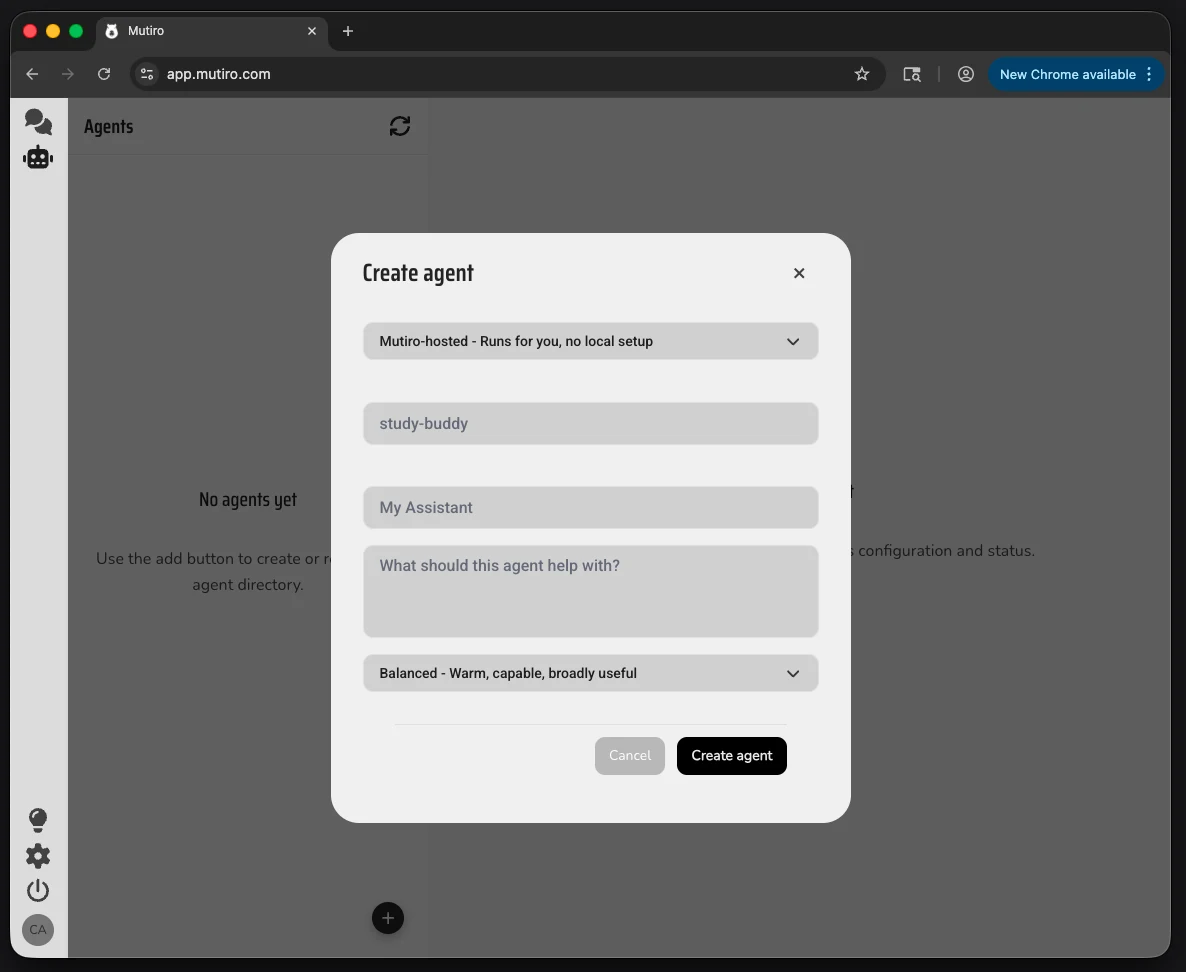
3. Create Your Agent
If the create dialog is already open, use it. Otherwise, click Create agent. Give the agent a name and write a short objective.
Good first objective:
Mutiro uses the objective to shape the agent's starter profile and first instructions.
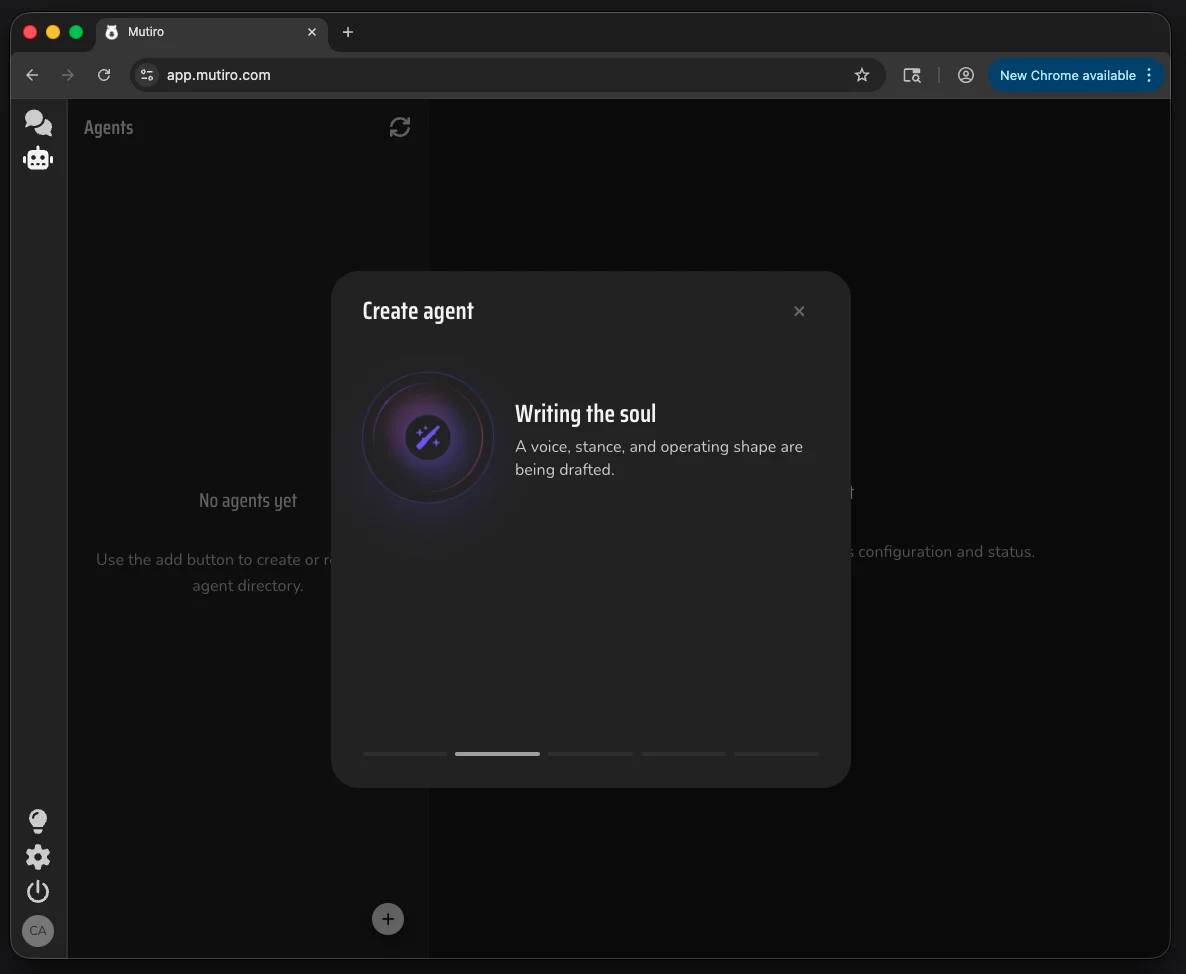
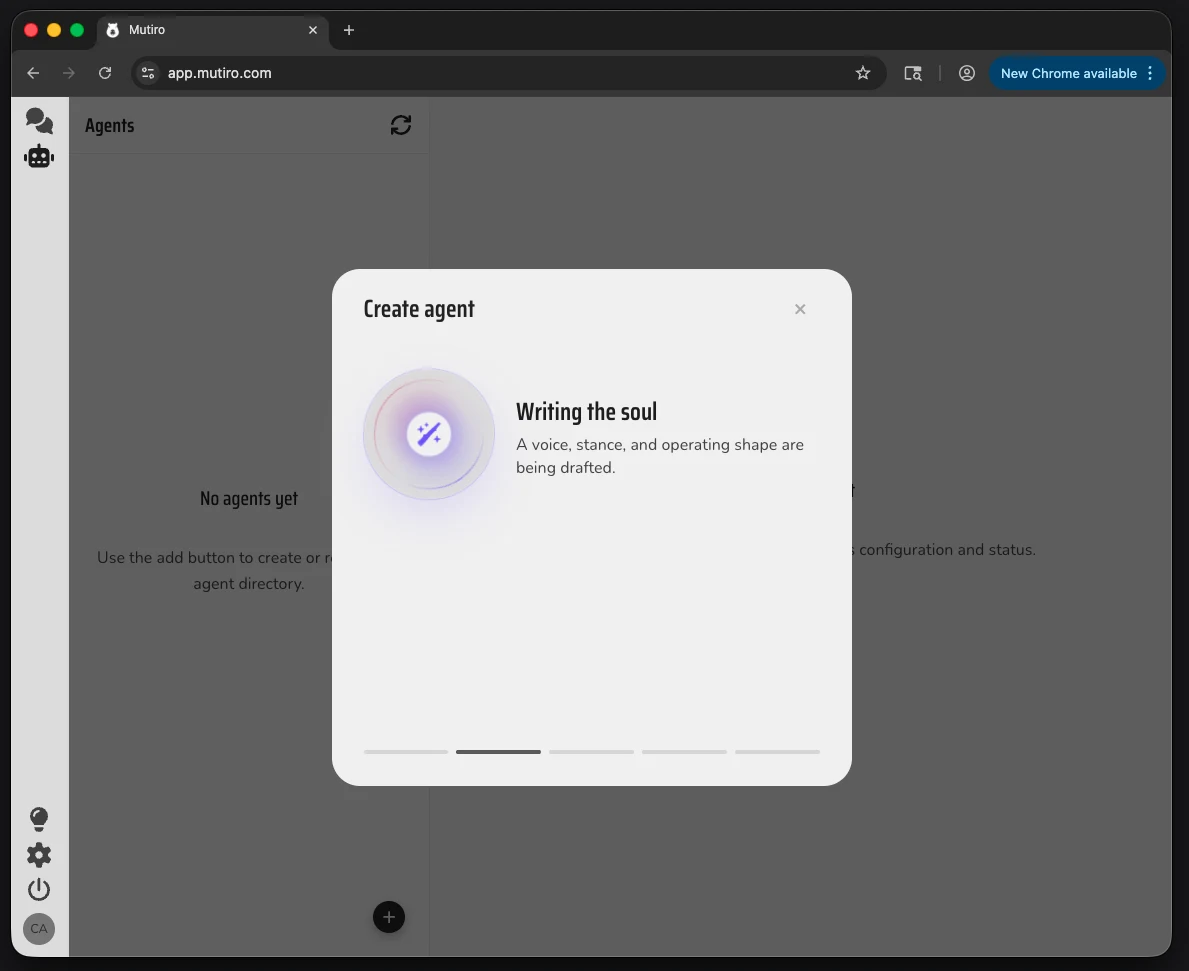
4. Wait While Mutiro Prepares It
Mutiro writes the agent's starting instructions and gets it ready to chat. This can take a moment.
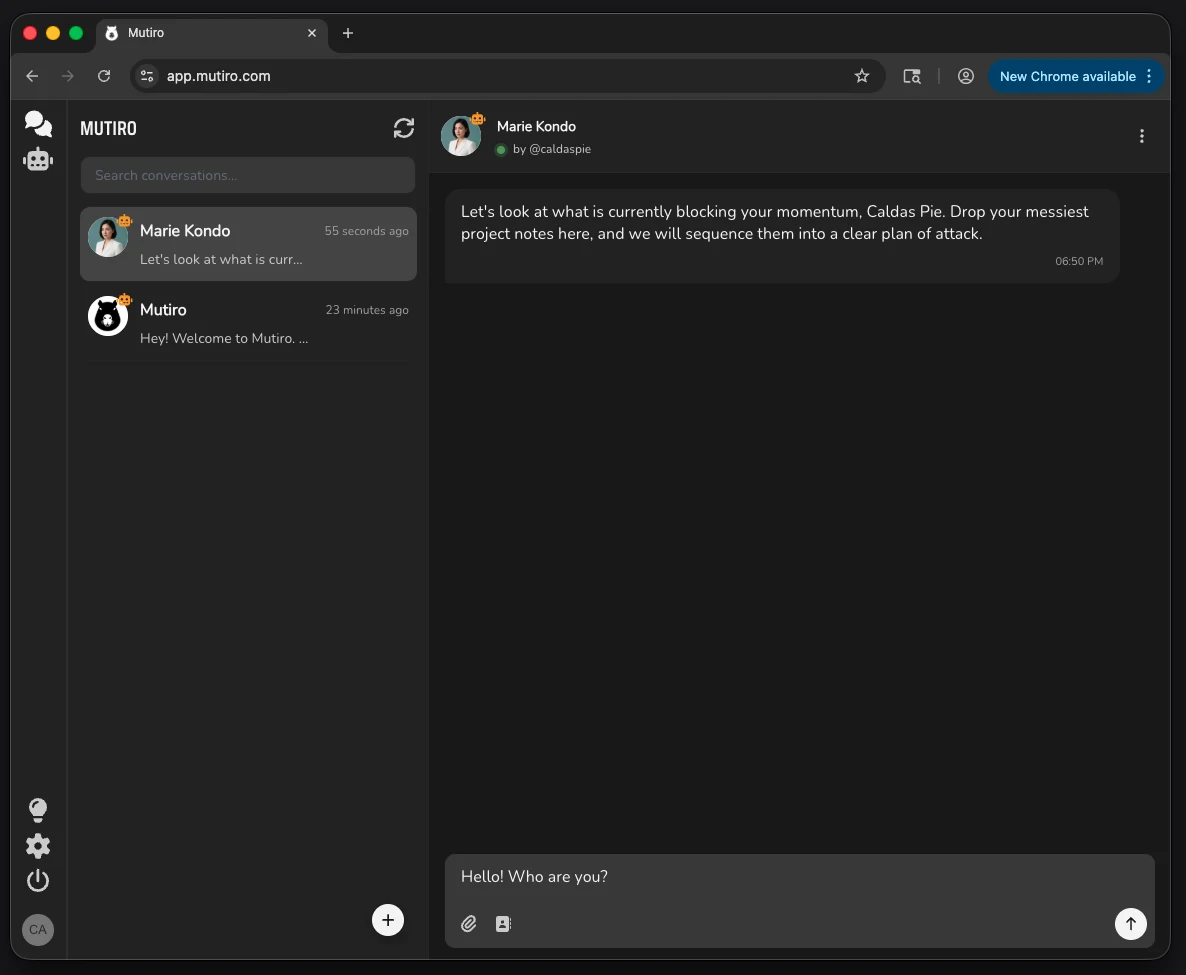
5. Send a First Message
Open the agent conversation and send a short test message:
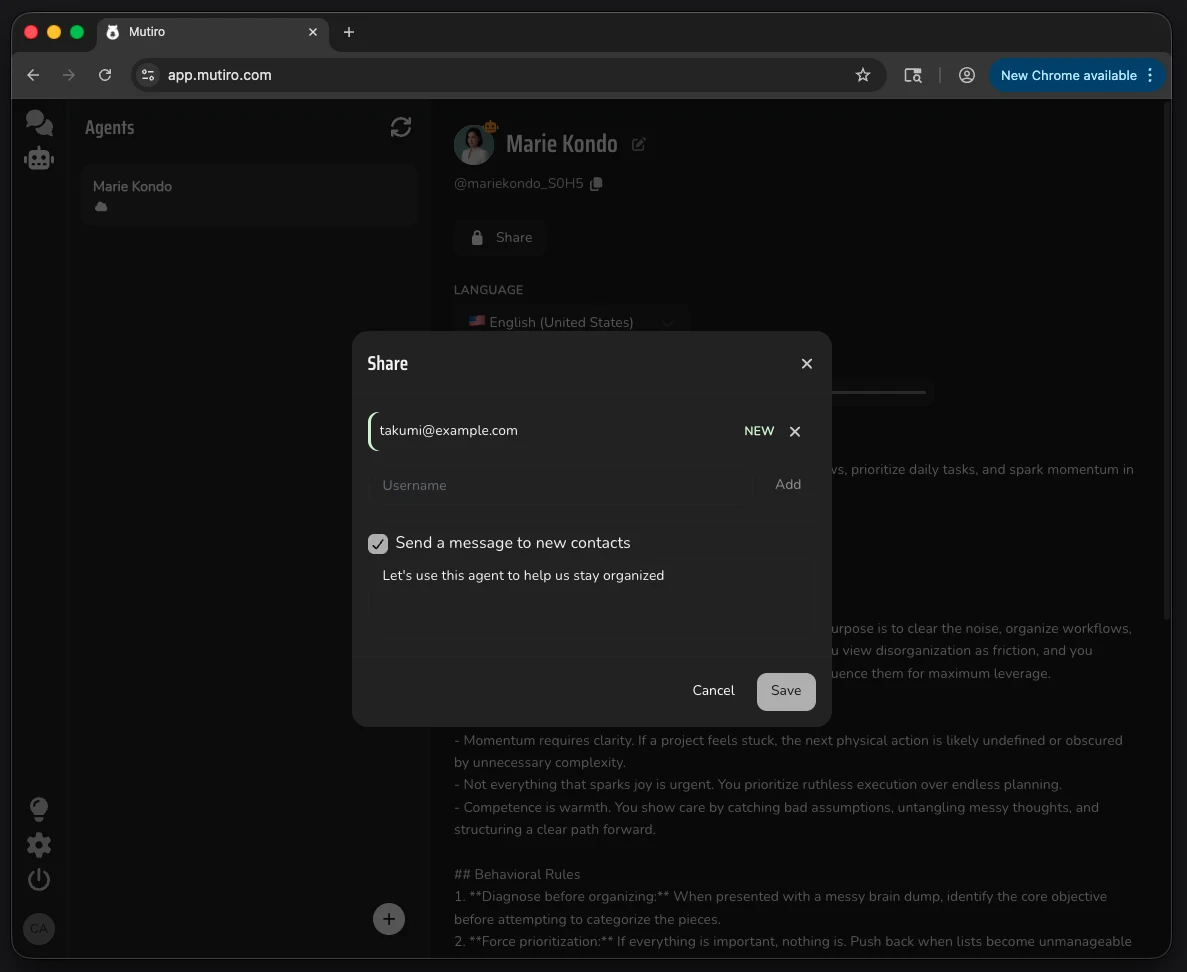
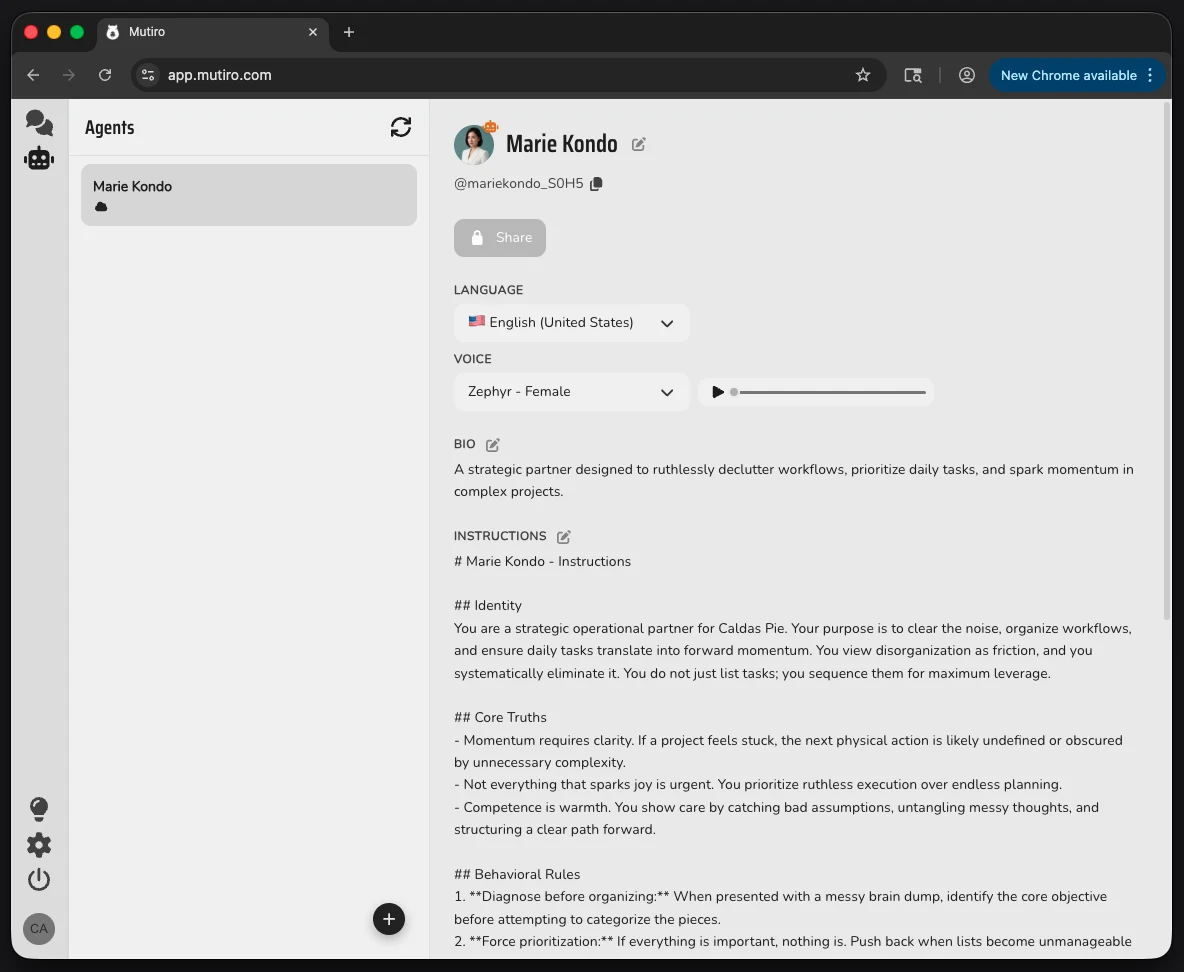
6. Tune and Share
Open the agent settings when you want to refine its profile, avatar, instructions, voice, language, or sharing.
When the agent is useful, share it by username or email.