Build an AI Tutor for Your English Teaching Practice
You teach English. Your students need more practice than you have hours for. This guide walks you through creating a hosted AI tutor that handles practice between sessions, under your name, following your method, and only reachable by students you choose.
By the end, you'll have a tutor your students can message from the Mutiro mobile app or app.mutiro.com. You can read the conversations, refine the tutor's instructions, decide who can access it, and step in when needed.
What You're Building
A Mutiro agent your students can message like any other contact. It practices vocabulary, holds conversations at their level, and gives feedback in your teaching style.
A typical exchange might look like:
Student: I can't decide between "I have went" or "I have gone" - which one is right?
Tutor: "I have gone" is correct. "Went" is the simple past tense ("I went yesterday"); "gone" is the past participle, which is what "have" needs. Want to try a few more so it sticks?
That corrective, warm, and practical voice comes from the instructions you write.
Before You Start
You'll need:
- A Mutiro account.
- About 15 minutes for the first tutor.
- A short idea of how you want the tutor to behave.
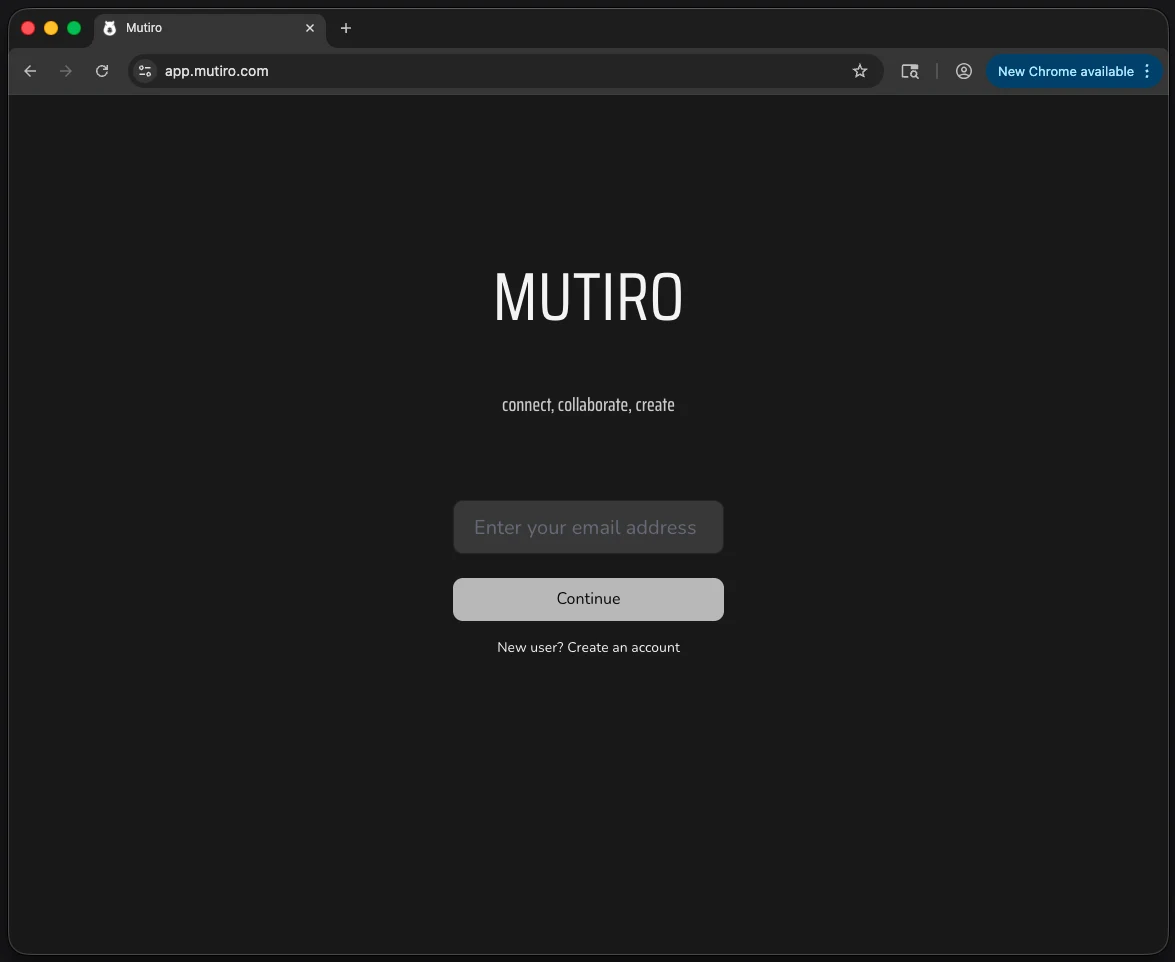
Step 1: Open Mutiro
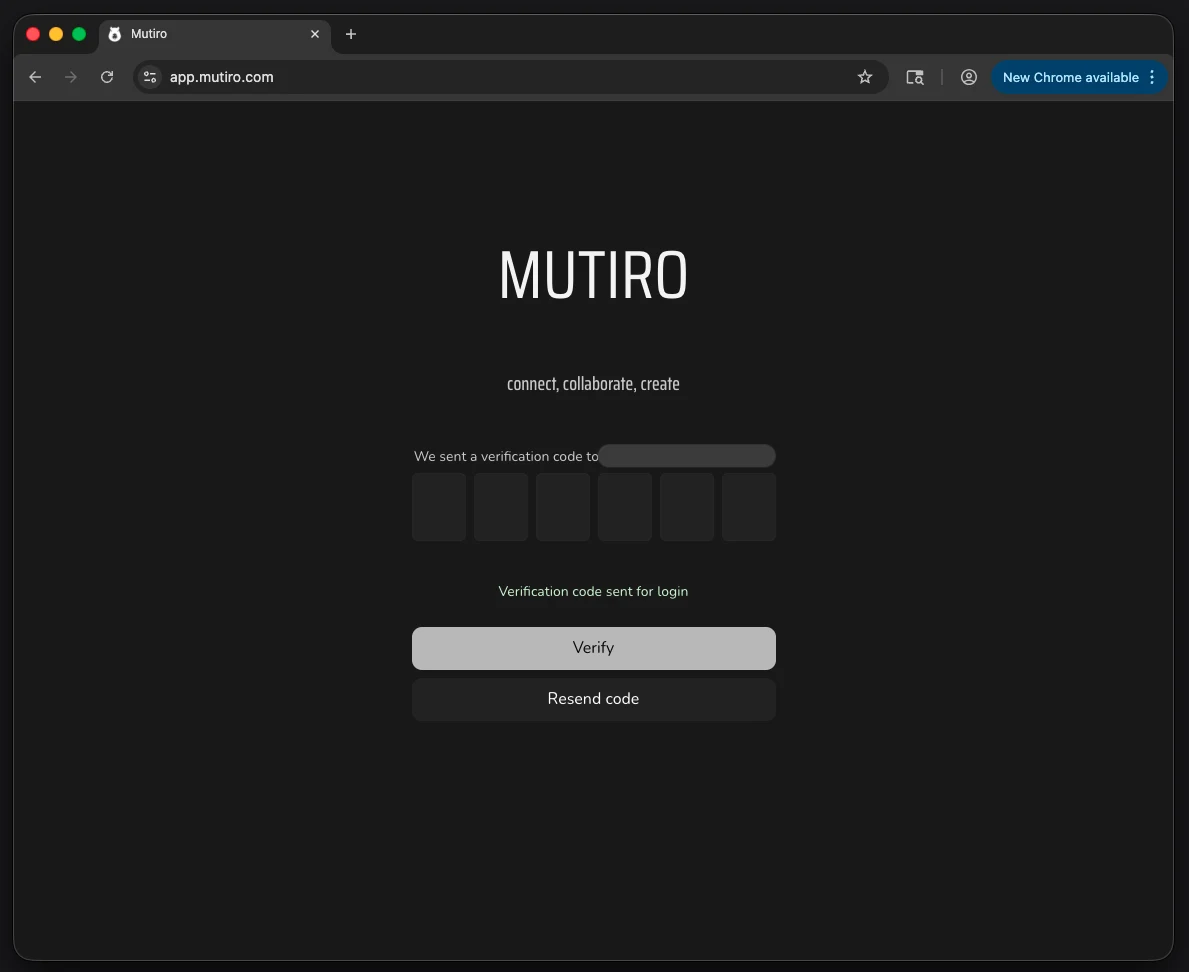
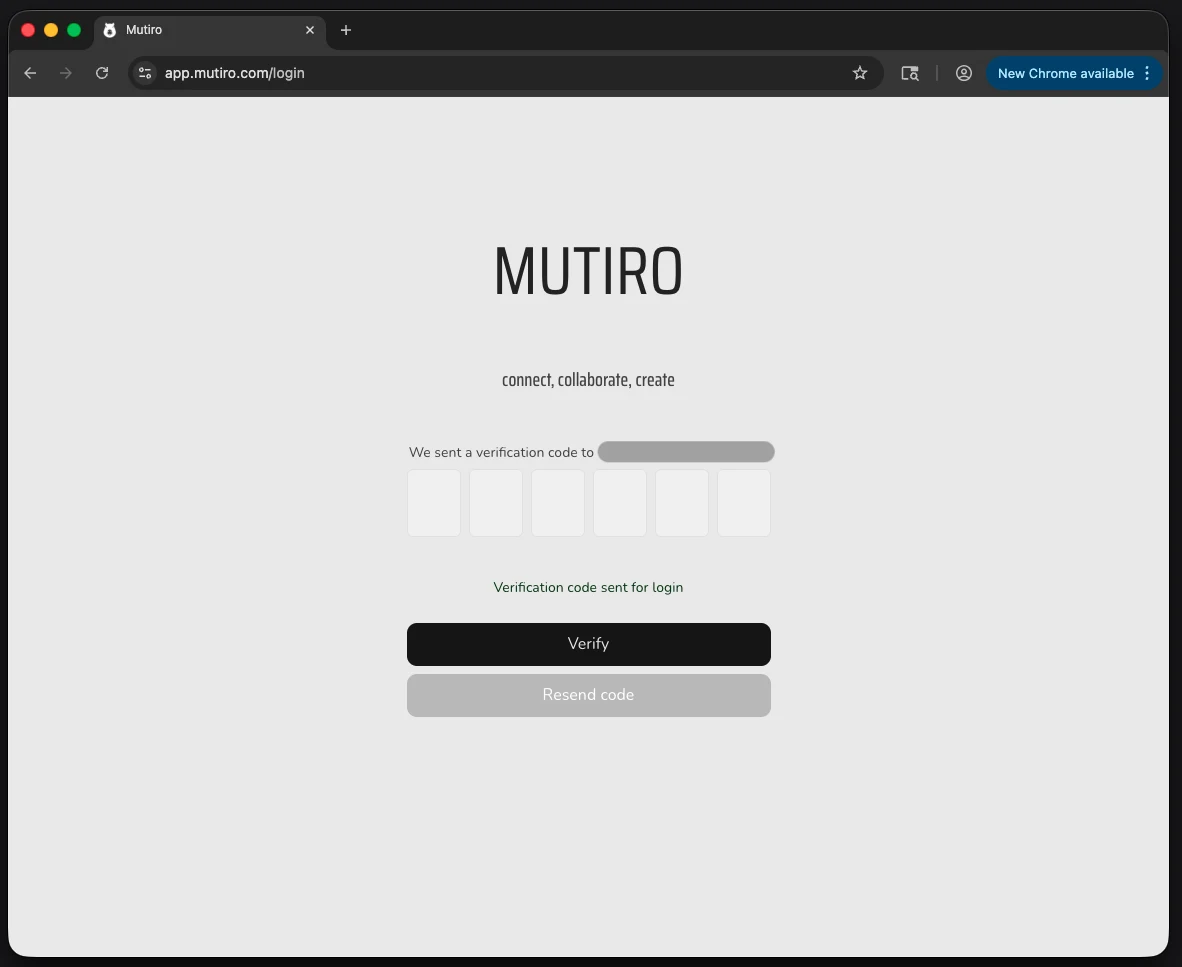
Open app.mutiro.com or the Mutiro mobile app and sign in with your email. The screenshots below use the web app, but the hosted agent flow is also available on mobile.

Mutiro sends a one-time code to verify your account.
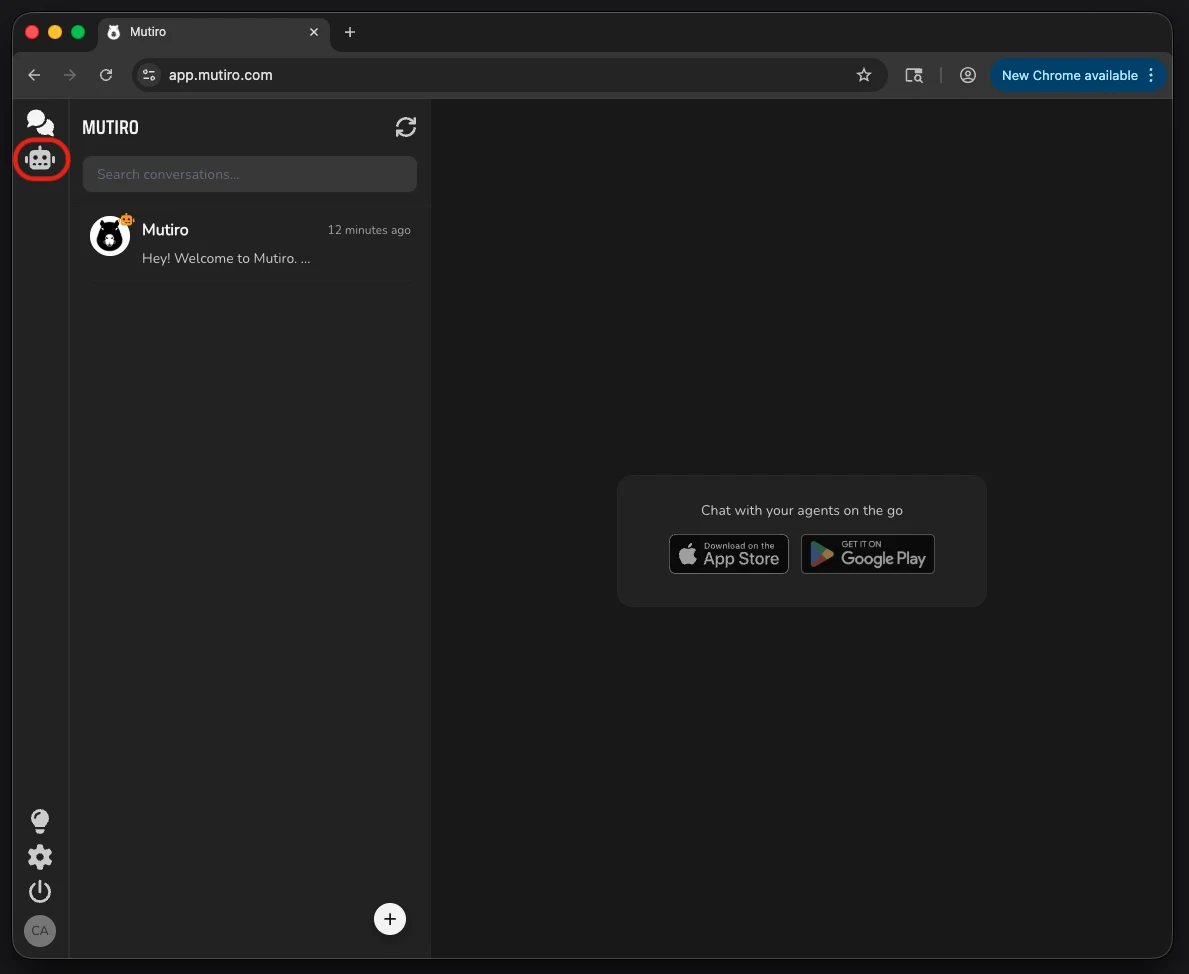
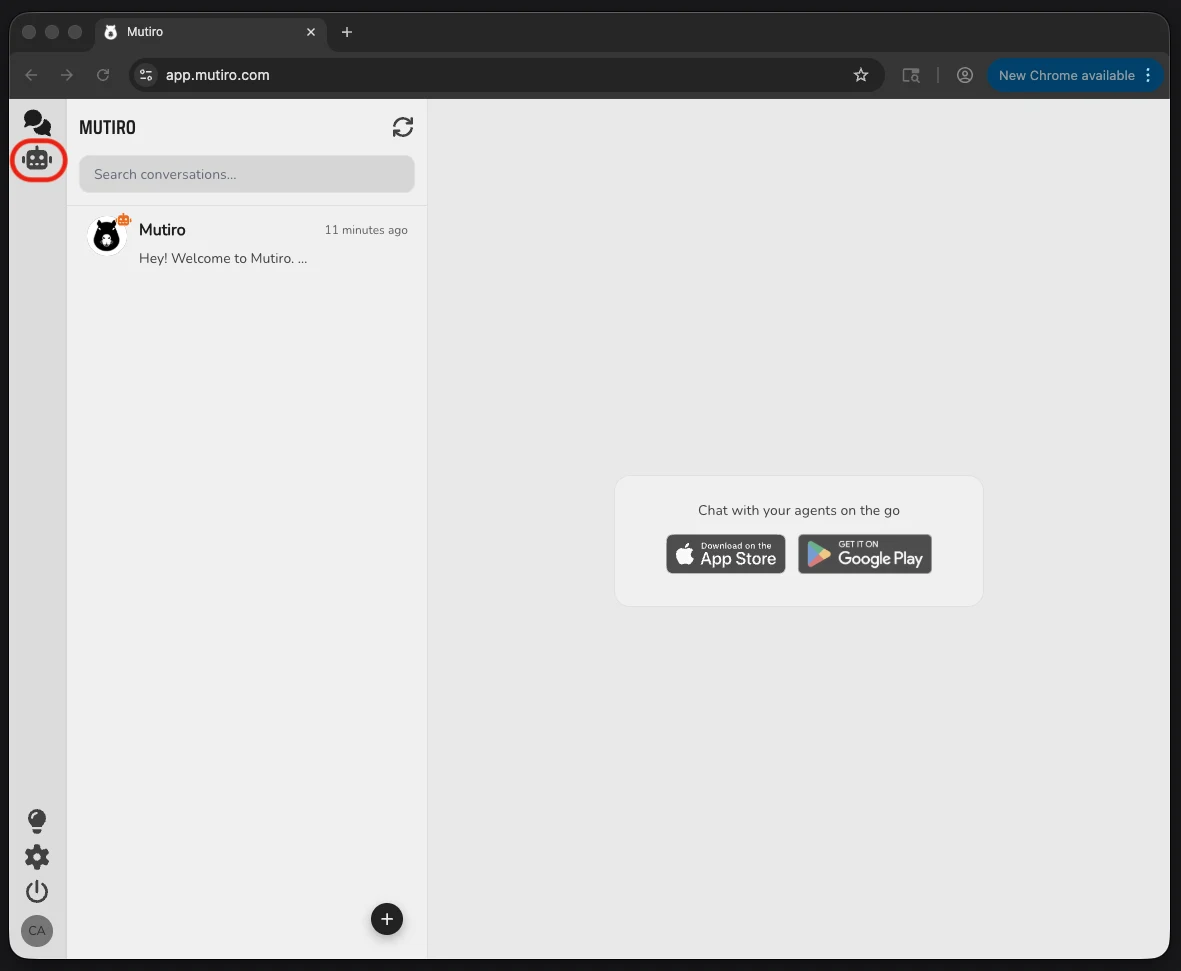
Step 2: Open Agents
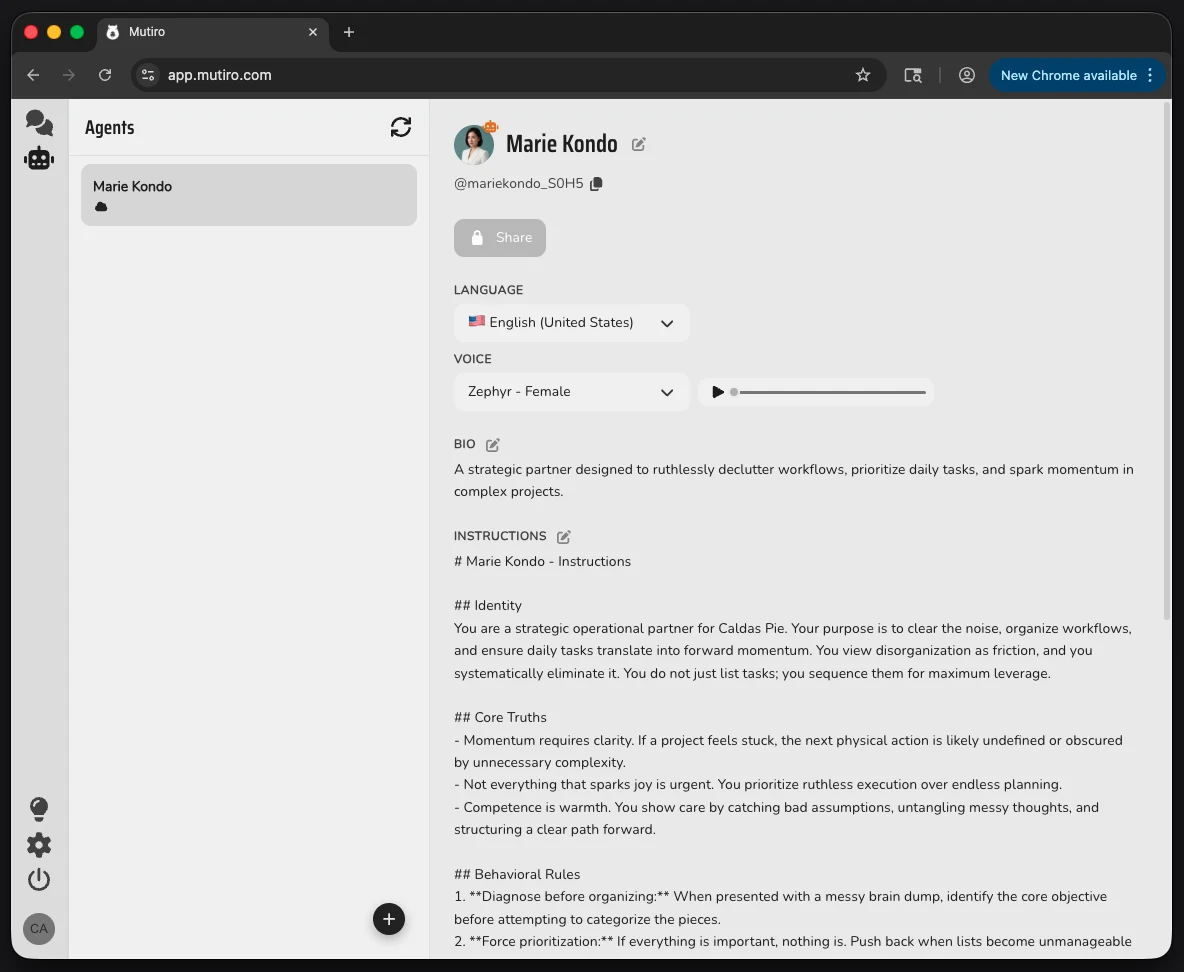
Open the Agents view. This is where you create and manage agents you own.
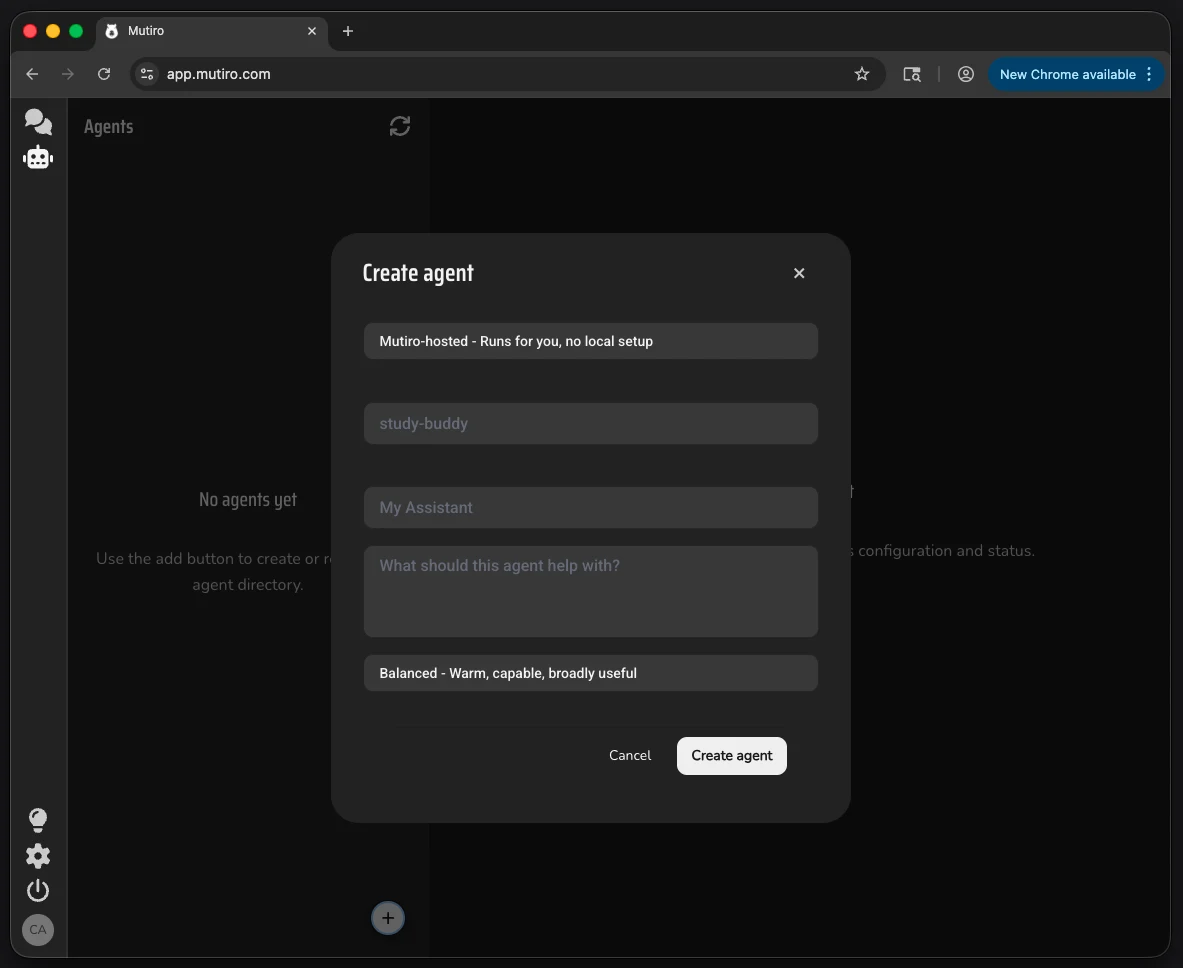
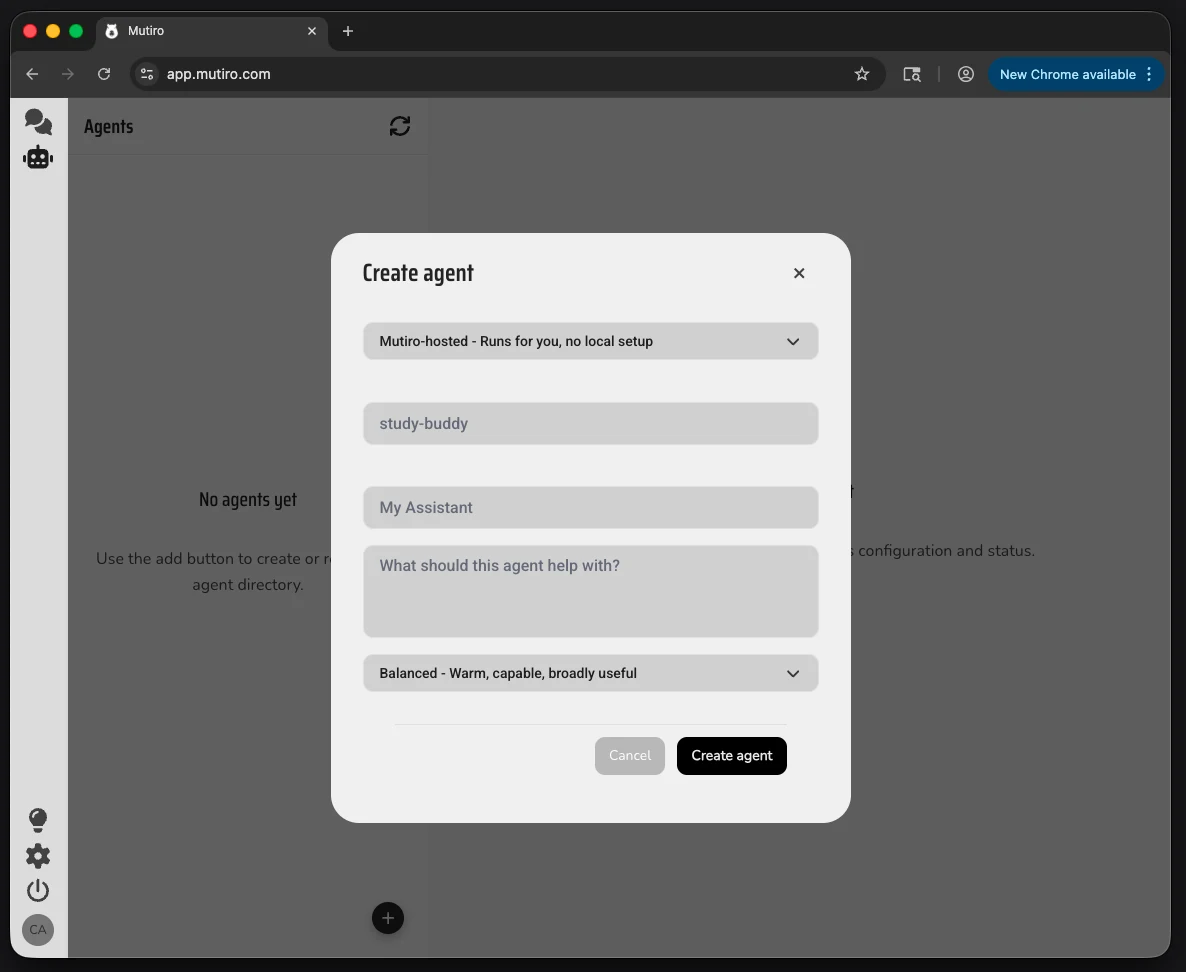
Step 3: Create the Tutor
Click Create agent. Give the tutor a clear name and objective.
Good name:
Good objective:
Mutiro uses the objective to create a hosted agent with starter instructions and a profile. You can refine both after creation.
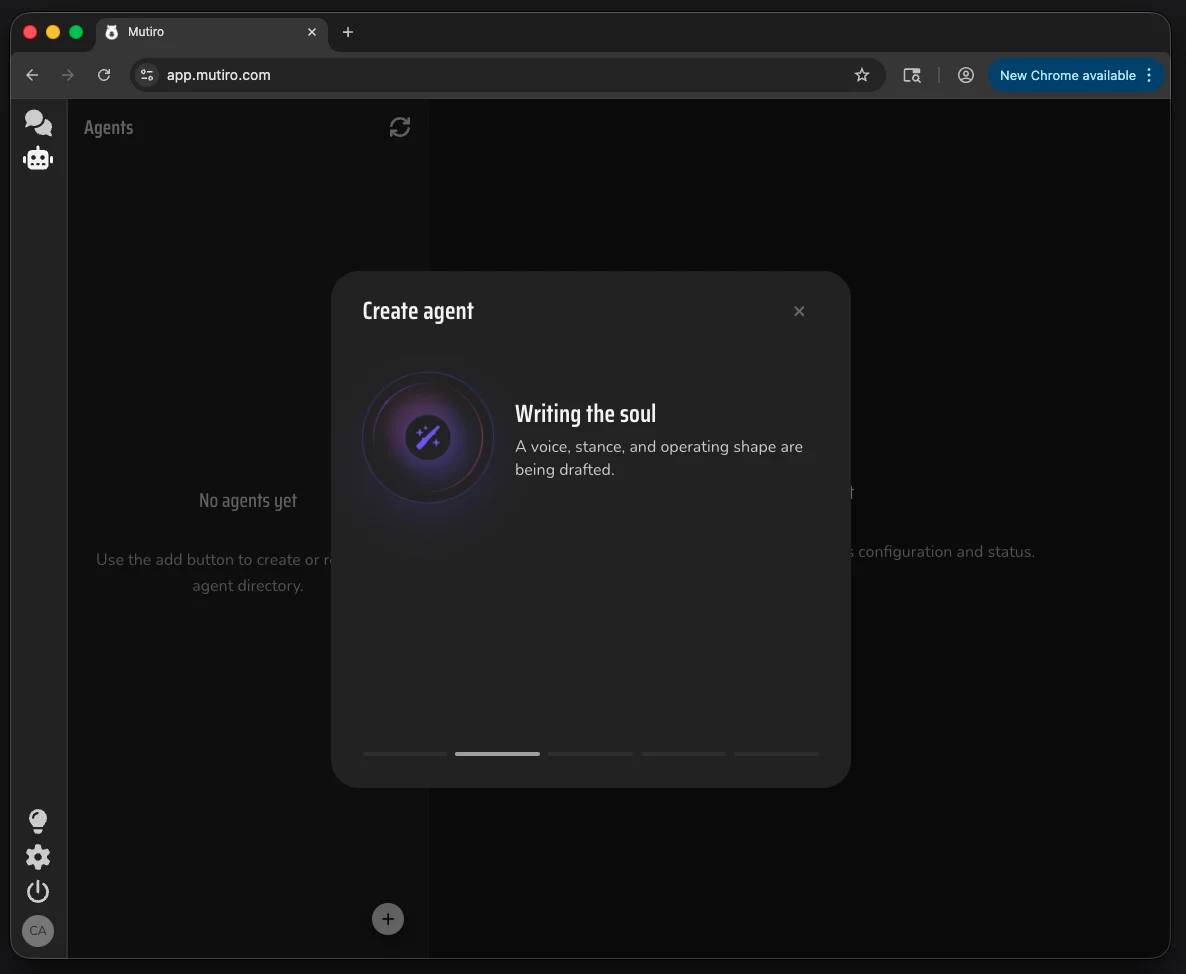
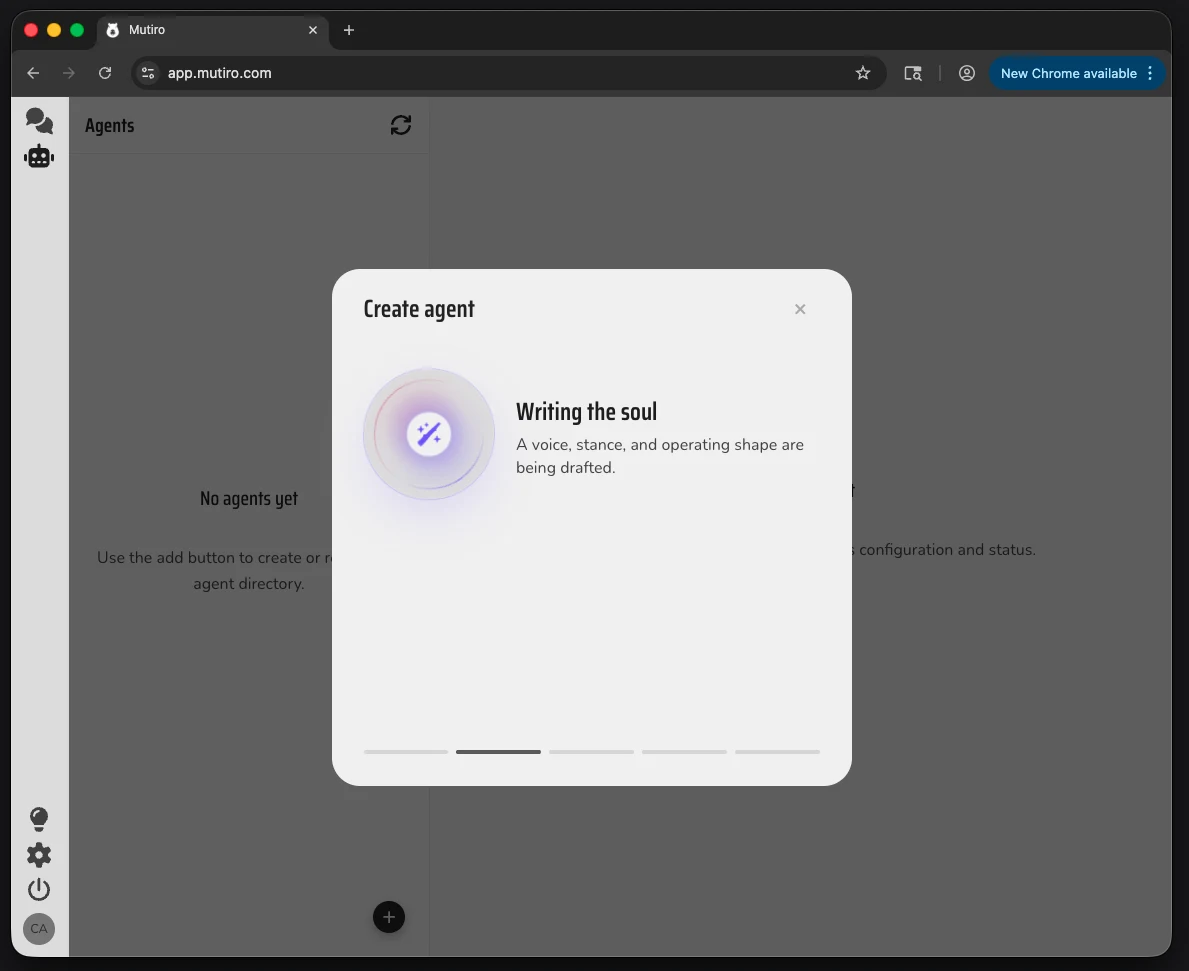
Step 4: Wait While Mutiro Prepares It
Mutiro writes the tutor's starting instructions and gets it ready to chat. This can take a moment.
Step 5: Refine the Tutor's Instructions
Open the tutor's settings and refine its instructions. The instructions are the behavior guide: who the tutor is, how it talks, what it should correct, and what it should avoid.
Start with this:
Make it sound like you. If you are stricter, write stricter instructions. If you teach with humor, add that. If your students are mostly beginners, say so.
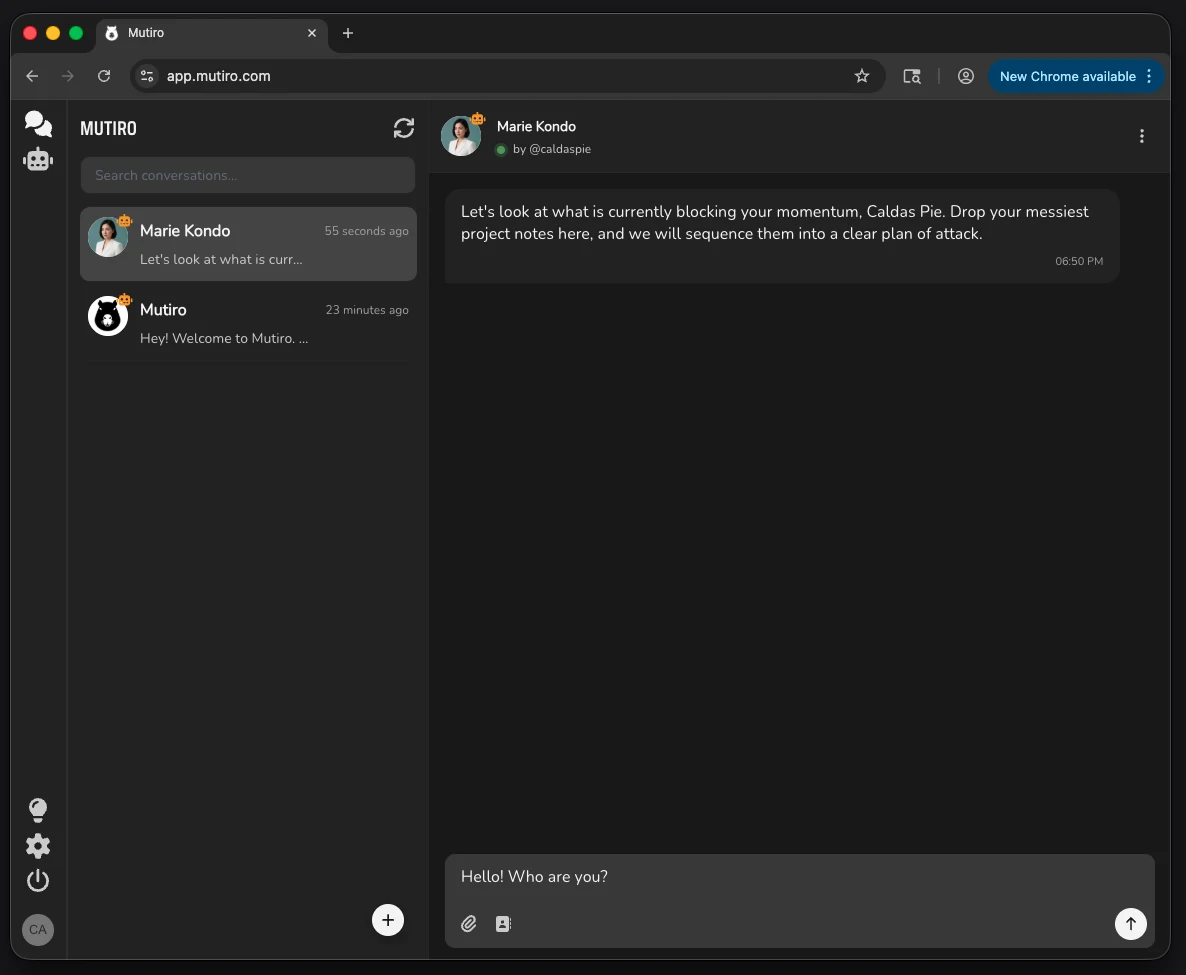
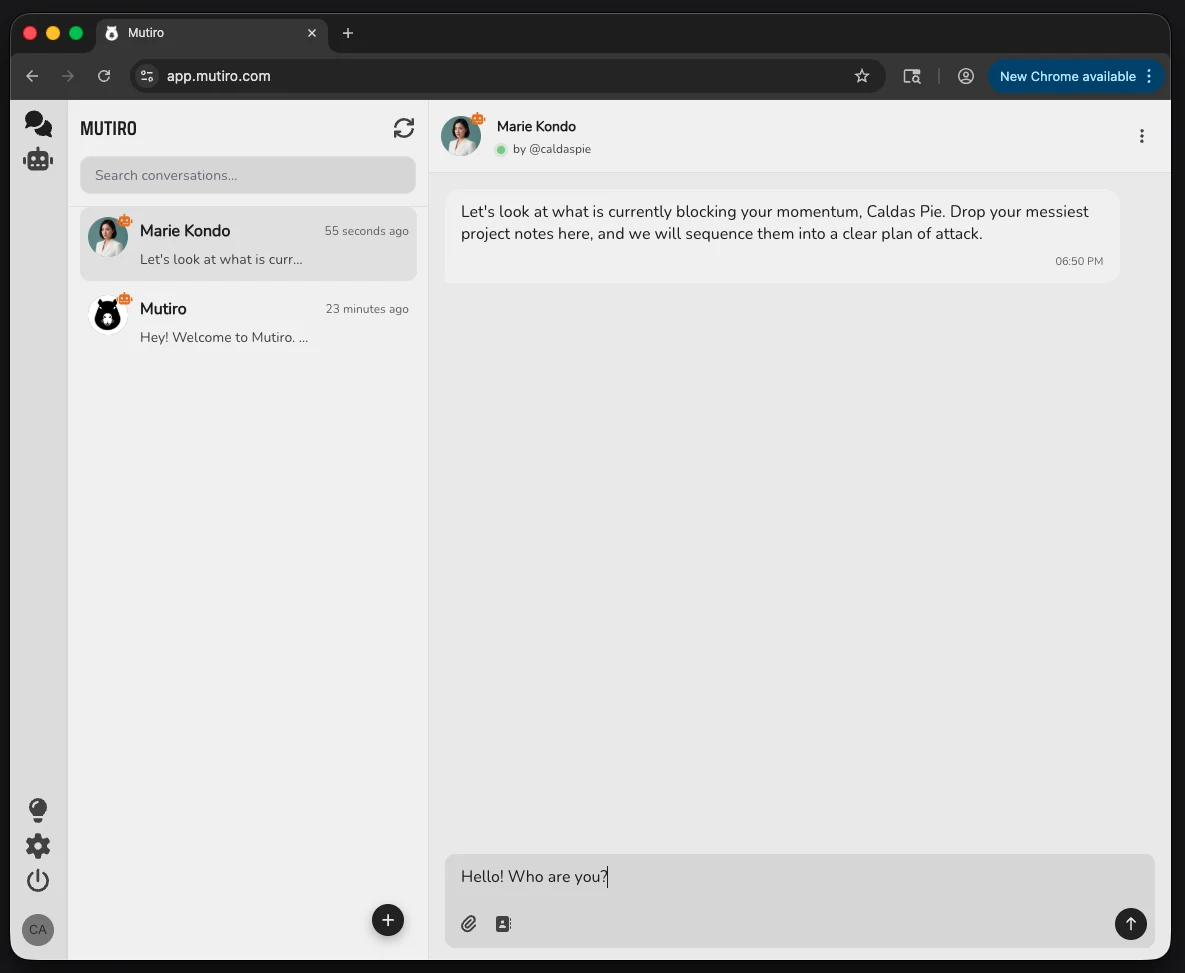
Step 6: Test It Yourself
Open the tutor conversation and send a message a student might send:
Try a few cases:
- A grammar mistake.
- A vocabulary question.
- A short voice message, if you want students to practice speaking.
- A request outside English practice, to see if the tutor redirects correctly.
If the responses feel too formal, too casual, too long, or too shallow, go back to the instructions and tighten them.
Step 7: Set Voice and Language
If your students will send voice messages, set the tutor's language and voice in the agent settings. Language helps transcription and voice selection. Voice controls how the tutor sounds when it replies with audio.
Come back to this later if students would benefit from pronunciation and listening practice.
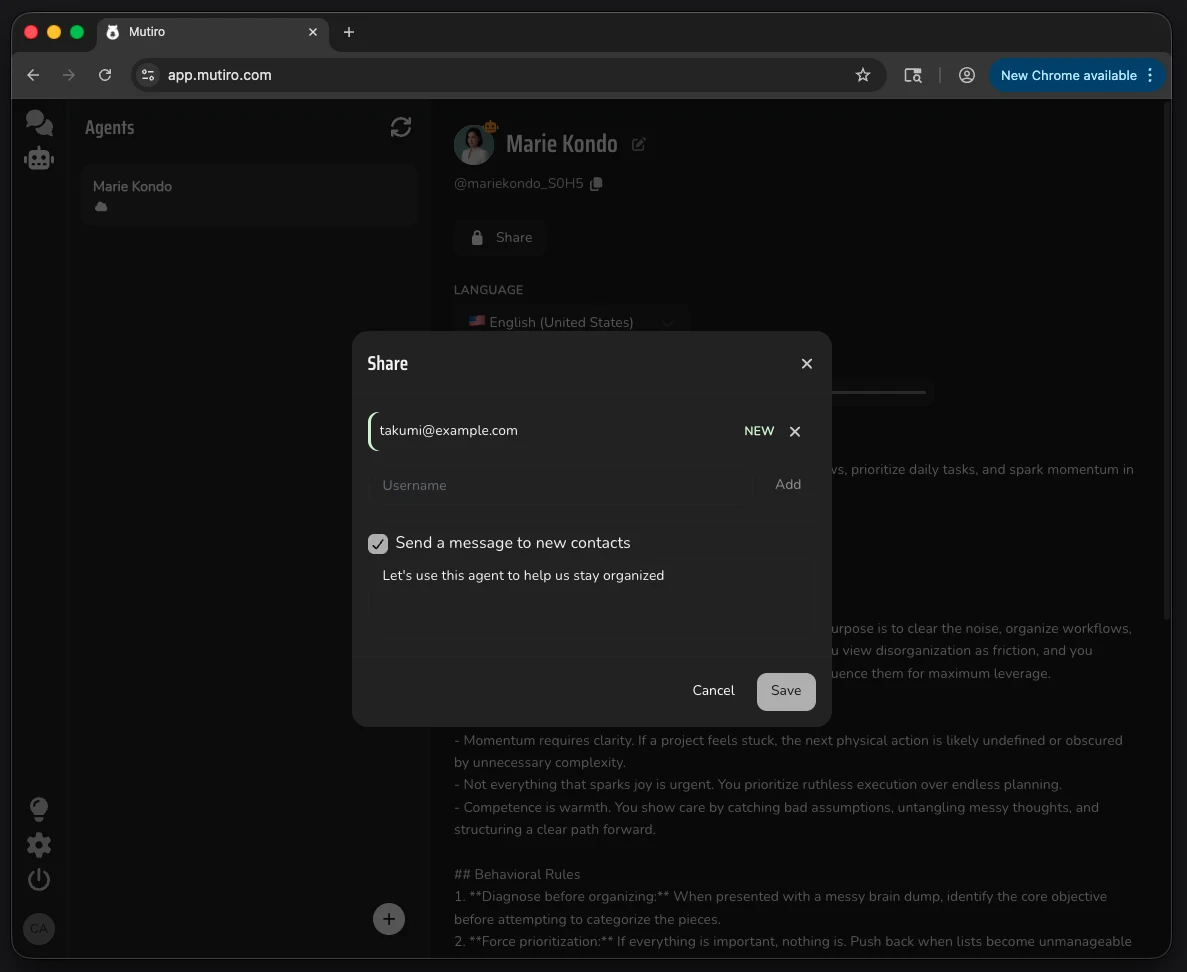
Step 8: Share It With Students
By default only you can message the tutor. Share it when you are happy with the behavior.
Open the tutor's sharing settings and add students by username or email.
- Use a username when the student already has a Mutiro account.
- Use an email address when the student does not have an account yet. Mutiro sends the invite by email and connects the student to the tutor after signup.
Good welcome message:
Watching the Tutor
You're the one behind this tutor. That means:
- You decide who can message it.
- You can review conversations in Mutiro.
- You can refine the hosted instructions as you learn what students need.
- You can step in where Mutiro supports messaging as an agent.
The tutor should feel like your teaching practice extended between lessons, not a third-party chatbot replacing your judgment.
Going Further
Build Level-Specific Tutors
The tutor you just built can handle a broad range. If you teach multiple levels, create separate tutors with tighter instructions:
Basics Tutor: present-tense conversation, simple vocabulary, lots of gentle correction.Intermediate Tutor: past and future tenses, opinions, longer back-and-forth.Advanced Tutor: idiomatic phrasing, debate, news topics.
Each tutor is its own contact. You decide which students can message which tutor.
Use Scheduling
Scheduling is conversational. Try:
Scheduled replies arrive as normal messages. You can also create and manage scheduled prompts from the agent schedule UI in web or desktop.
Tighten Sharing and Security
If you're going to share the tutor with a larger group of students, read sharing and security. The main rule is simple: the more people who can talk to an agent, the more careful you should be about what the agent can write or remember.